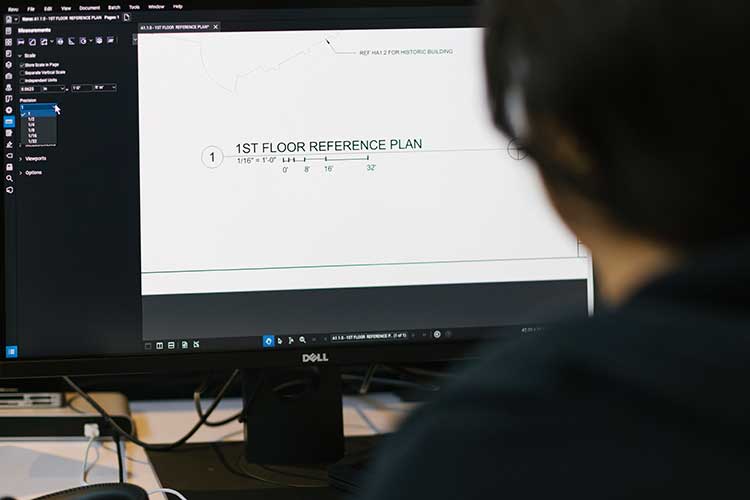
Bluebeam Revu has proved to be an invaluable tool for professionals across the architecture, engineering and construction industry. For many, eliminating paper, streamlining document review and management, and marking up and communicating intricate design changes make the software an integral part of their technology stack.
But what many in the industry may not realize is that Revu can also be used as a tool for sketching. Whether it’s a simple RFI or a draft of a design concept that needs to be approved by a client before being finalized into AutoCAD, Revu can help construction, engineering and design firms standardize their sketching capabilities in a way that makes them more detailed, accurate and easy to understand by those collaborating on complex construction projects.
Here’s how Revu can be set up for sketching in a way that streamlines the process.
Set up templates
Templates are a great way for users to standardize sketch documents for a project for quick and easy access.
To set up a template, users can simply take their title block from AutoCAD and create a PDF with a blank background. Save that as a sketch template.
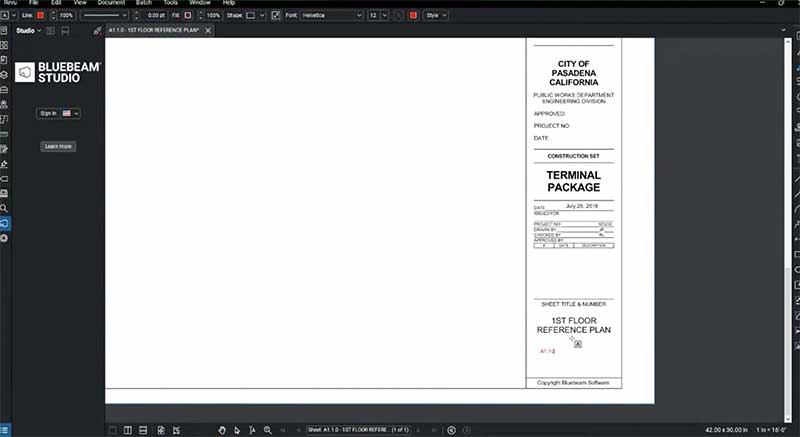
Each time a user goes to create a sketch, they can just click on that template from the dropdown menu and get to sketching.
Build out custom tool sets
With sketch templates in place, users can build out custom tool sets so that the same symbols they use in other formal plan documents are replicated and ready for use in Revu.
The easy way to create custom tool sets with unique symbols is to use Revu’s snapshot feature to create custom symbols from drawing content on the PDF. These can then be saved in a user’s custom tool set for sketching.
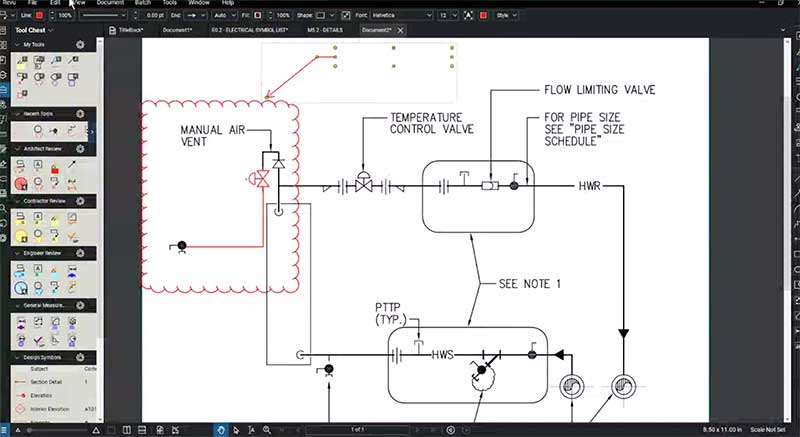
To help distinguish the custom symbols for sketching, consider changing their colors to red or another preferred color. This way others reading the sketch will know what’s a markup and what isn’t.
Use snapshot function
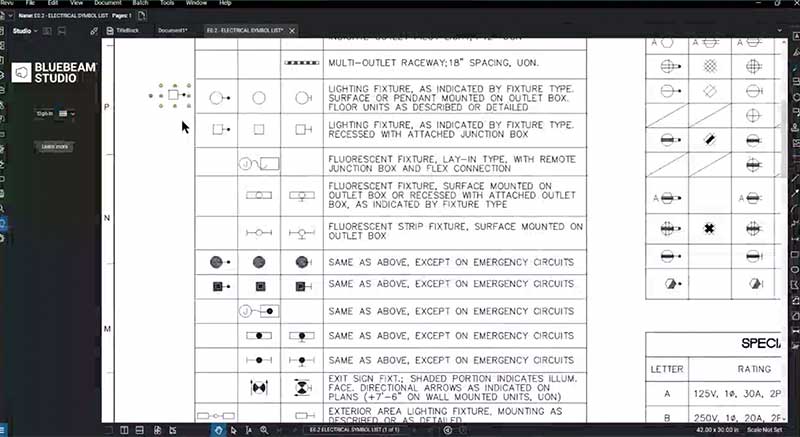
The snapshot tool within Revu in creating sketches doesn’t end with building custom tool sets. Snapshots can also be used in sketching when communicating detailed proposed changes to a larger plan.
Use the snapshot tool to capture the details in a given plan and put it onto a blank PDF using your sketching template in Revu. This allows crisp, vector content to be maintained, allowing users to see certain elements of a sketch in fine detail.
From here, users can take advantage of the snapshot tool to add new plan components. The ability to use the snapshot image to sketch out and markup drawings on such a detailed level is almost like working in a slimmed-down CAD environment.
Maximize markup tools
The markup tools in Revu are also really valuable for creating sketches.
Revu users can simply change markup properties, create custom line styles and use markup alignment tools to create sketches.
Users can also sketch to scale with markup tools in Revu, ensuring that your sketches are more detailed and accurate than those done on paper.
More detailed, elaborate sketches
Overall, there are many benefits to using Revu for sketching. It’s simple to set up repeatable sketch templates so that there’s formality and standardization to the sketching process. Custom tool sets allow sketches to be uniform with the rest of the drawings and documents used on a project. Users can also create more detailed and elaborate sketches in Revu, allowing for better communication and accountability for proposed changes.
For Jyotiba Patil, a BIM MEP Revit Specialist at design firm HDR, most sketches start in Revu. “We don’t pencil anything in CAD unless we get some kind of approval from the client,” said Patil, who is based in Brisbane, Australia. “Everything we do, we do it in Bluebeam because it’s just easier.”
“From the client’s perspective,” Patil continued, “I think one thing they appreciate is that quick turnaround. With Bluebeam we can do sketches easier and faster and more efficiently.”

