By now you’ve read several of my articles showcasing various disciplines within the design and construction industry and how I’ve helped them implement Bluebeam within their workflows. Like all the others you can learn more about the technical tools in my parallel blog post, “Land Development Bluebeam Tools of the Trade.” This one has a little different back story, but it speaks to my approach to every Bluebeam implementation.
Early last year someone reached out to me following up on a referral. He asked if Bluebeam could do estimating for erosion control work. I quickly showed him on the fly how the basic tools could easily measure what he was looking for and explained how custom tools could take things to the next level. It’s always my goal to make the workflow as easy as possible. I tell my customers I want the intern next summer to get the same results as a senior estimator. Well thought out, standardized tools and workflows are key to success. It turns out he wasn’t looking for tools or workflow suggestions; he was looking for an estimating service.
My kryptonite in business is wanting to help everyone—to the point where I become part of their team. That weakness, however, is also my superpower! In this process I truly gain an understanding of the diverse struggles, goals, processes and challenges every company deals with every day.
Long story short, I somehow became an erosion control estimator. I built a handful of custom markup tools and delivered a material takeoff that was more accurate than the tabulation that was prepared using their existing workflows. I guess you could say I played the role of an intern and proved my point. I still get calls from time to time to do estimates for them and enjoy the change of pace. I’ve always embraced these engagements because what I learn each time sets me apart as a trainer. I’ve been told I explain things differently than other trainers and have a deeper knowledge of what Bluebeam can do. I made a habit of always answering “Yes and” when people ask if Bluebeam can do this or that. I never allow Bluebeam to be kept in a box.
So I guess in this case, I’m sharing how I built an estimating department that over delivered to a repeat customer. Here is how I implemented my tools of choice.
ALSO ON BUILT:
First, I took a look at the symbol legend on the drawings to learn what types of materials are being specified and how they’re represented. The sections and details helped to introduce me to parts of the drawings I’ve never looked at with my structural background. From there, I started creating custom line styles to match the drawings and selected colors to differentiate similar materials. When choosing the tool to use for each material, I had to consider how the materials are purchased. Are they priced per linear foot, square foot, cubic yard or ton? I’m also interested to know quantity breakdowns. What units are materials sold in? For example, some materials are sold in 500-square-foot rolls, so I ultimately want Bluebeam to tell me how many rolls are needed. Some materials are sold in cubic yards or by the ton, so I needed to determine what formulas I needed to build into the custom columns to convert my measurements into these units.
My goal is to just relax, trace or color between the lines on the drawing and have an accurate scope of work and material takeoff when I’m done. Oh, and to produce a color-coded drawing that I developed in the process for the field crew that makes installation easy to understand.
After my tools are built and ready to go, I looked at how the project would be built out in the field. One particular project had three phases where additional materials were installed at different times. For this I used Spaces and named them to match the phases of work. This allowed me to accurately scope the work and price each phase separately to catch real-time material, equipment and labor pricing.
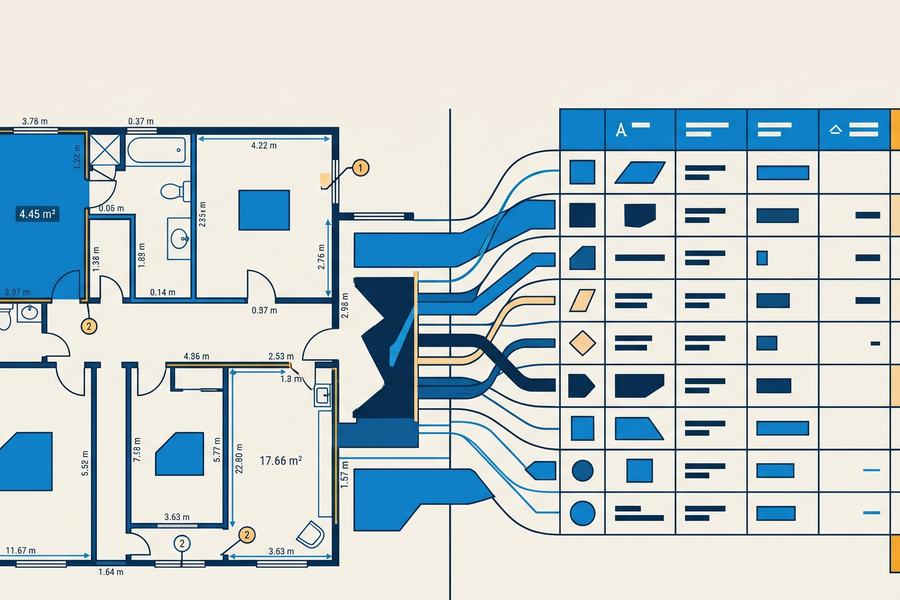
Next, I built an easy-to-read Legend allowing for material breakdowns to be shown directly on the printed sheet for the field crew. Legends can be as simple as a description of a symbol, or as complex as a complete list of meta data for each material.
One challenge users run into with civil drawings is the sheer size of the project. Often the site is too large to fit on a single drawing sheet. Using match lines, designers typically break a large plan into smaller sections, placing each on its own sheet at a larger scale. That’s great until you’re measuring materials like silt fence that can cross over multiple sheets with a single line.
When I encounter this situation—this is a case more often than not—I create a new PDF in Bluebeam with a sheet size larger than I expect to need, say 80” x 80”. Using the Snapshot tool, I then take a snapshot of each sheet at their larger scale and paste them back together on my large blank PDF. Using contour lines and other land features it is easy to accurately rebuild the site. As I place each snapshot, I make sure to Lock it in place on the Properties Panel so I don’t accidently move the piece, bumping it out of alignment.
Many land development projects start with clearing the site. Whether it’s tree cover, brush or clearing slabs, buildings, bridges or foundation removal, there are significant costs for this work. Sometimes dirt is hauled in, hauled out or just moved from one place to another on site. Some materials are hazardous and require different considerations. When building custom tools for this type of work, you might break them down by what equipment is needed. Clearing 4” of surface material might be considered light excavation, where 12” might be medium or heavy. Most of the time Volume tools are adequate for quantifying this type of work, though you may need to get creative measuring contours.
Underground utilities are often part of this work as well. Linear feet of pipe, conduit or cable can be easy, but small tweaks to the markup tools can also calculate average trench excavation costs. Same for concrete volumes for trench footings, continuous strip footings or curb and gutter.
These are just a few of the essential tools and functions in Bluebeam helping land development professionals—or, in my case, Bluebeam trainers—efficiently identify and accurately measure quantities. Be creative with your approach to Bluebeam and never make it more difficult than it needs to be.